
 As a New York City Public School kid, Mid-Winter Recess has always been a special time.
It means a week off from school for teachers and students starting on President’s Day. I took serious advantage of my teacherly time off this year by booking a much-needed three-day bday getaway to Woodstock with my beau.
Fun fact: My boyfriend and mom share a February 22nd birthday.
It’s a big year for both of them: Jason turned 30 and my mom turned 70! (Please hold your judgments on my poor daughterly-ness for choosing to spend this bday with my boyfriend instead of my dear mother!)
Since I love crafty things and can’t let my hands stay idle for too long, I made a paper banner to surprise Jason on his birthday morning.

Here he is after his bday banner surprise!
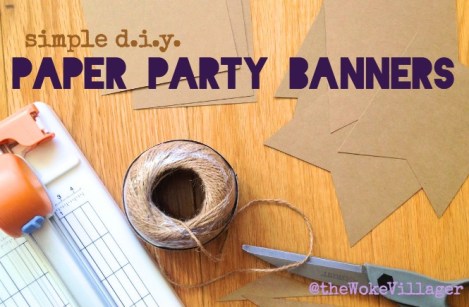
Paper Banner Materials Needed:
- Cardstock (I used some natural cardstock that I had on hand. Any paper will do, though I recommend cardstock for added durability.)
- Paper cutter (or just trusty old scissors!)
- Scissors
- Marker
- Hole punch
- Twine (or string, or pretty ribbon…)
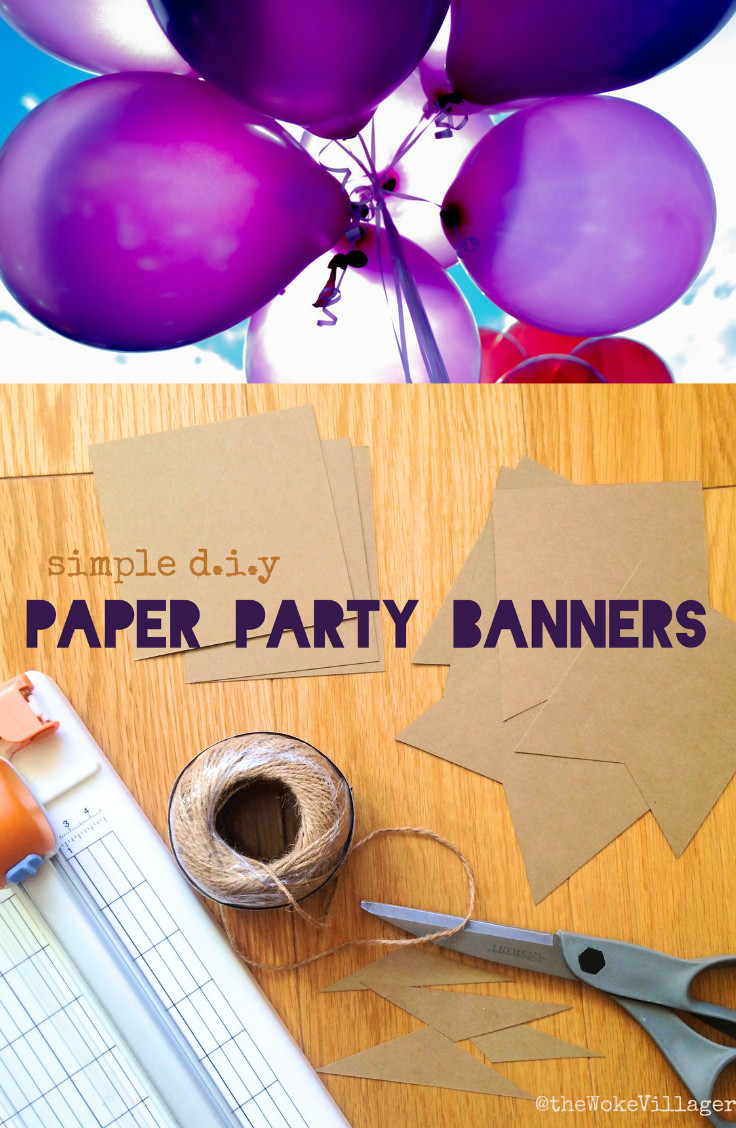
I needed 18 flags to spell my words: HAPPY (5 Letters) + BIRTHDAY (8 letters) + JASON (5 letters).
I didn’t want my flags to be uniform in size, so I used my paper cutter’s ruler to help eyeball measurements for 6 flags from each piece of 8-1/2″x11″ cardstock. I started by cutting each sheet lengthwise at around 4-1/4″. Then I cut each strip into three pieces ranging in length from 3-1/2″-4″. Don’t have a paper cutter? A ruler, pencil, and scissors are tried and true, or even better–a precision knife (like an X-Acto) and a T-square!
If you want flag uniformity, you can get 6 flags from one piece of 8-1/2″x11″ paper by cutting the piece lengthwise at 4-1/4″ and each strip into three rectangles that are approximately 3-10/16″ wide.
Once my rectangles were cut for the flags, I just took my scissors and cut a shallow triangle from the bottom of each piece (again, eyeballing it).
Then I split the flags up by word and wrote in the letters.
Next, it was time to punch holes in the top corners of each flag for the twine. Since I only have a 3-hole punch, as opposed to a 1-hole punch, I lined up a corner of each flag with the middle hole punch for each hole needed.

I didn’t know where I would be able to hang the banners in the house, so I cut three pieces of twine (one for each word) by placing my letters on the floor (because I live in a small Brooklyn apartment and a tabletop is never a given!) in their word rows and eyeballing the length of twine needed for each word, plus about 2′ extra for an additional foot of hanging length on each side. (Can you tell I like to cut corners wherever possible when it comes to measurements?)
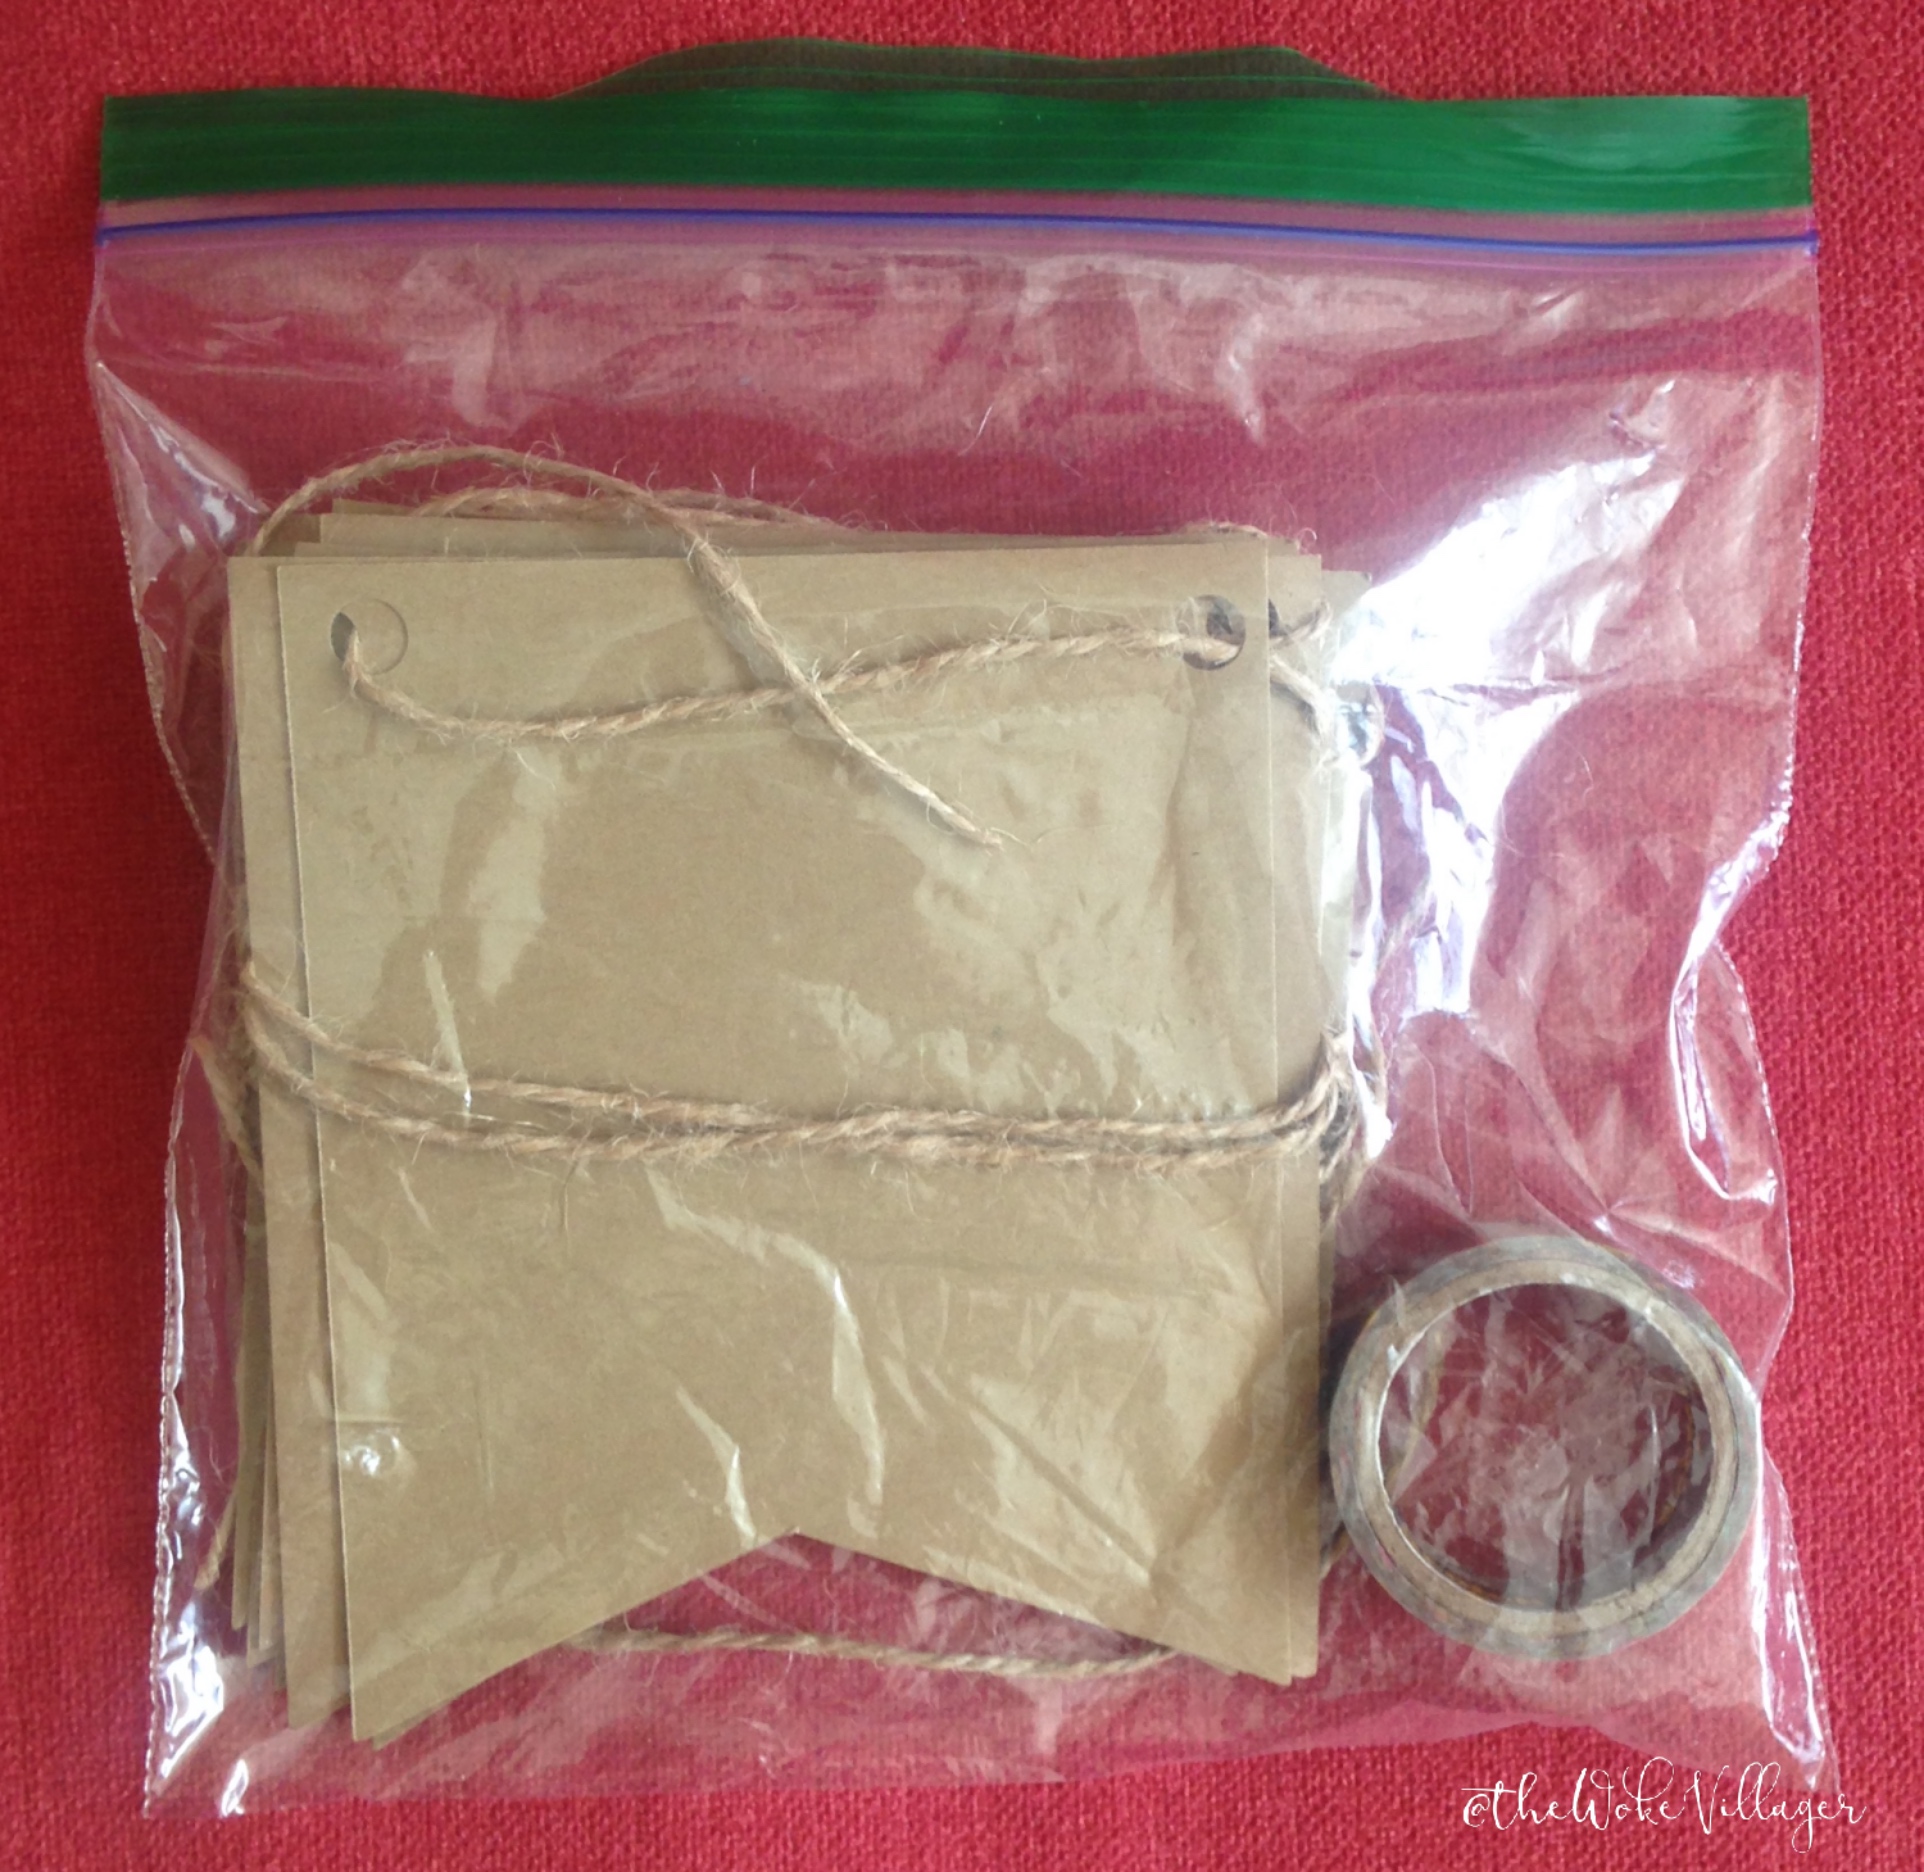
One of the best parts about a paper party banner? It packs up nicely into a discrete little sandwich bag situation!
The Woodstock house ended up surpassing expectations in cuteness and comfort and I snuck these babies up before Jason woke up on his 30th day!

And don’t worry, plans are in the works for a family get together to properly celebrate my mom’s 70th soon!

You are just tooo cute !!! love it
Thanks, miss e!